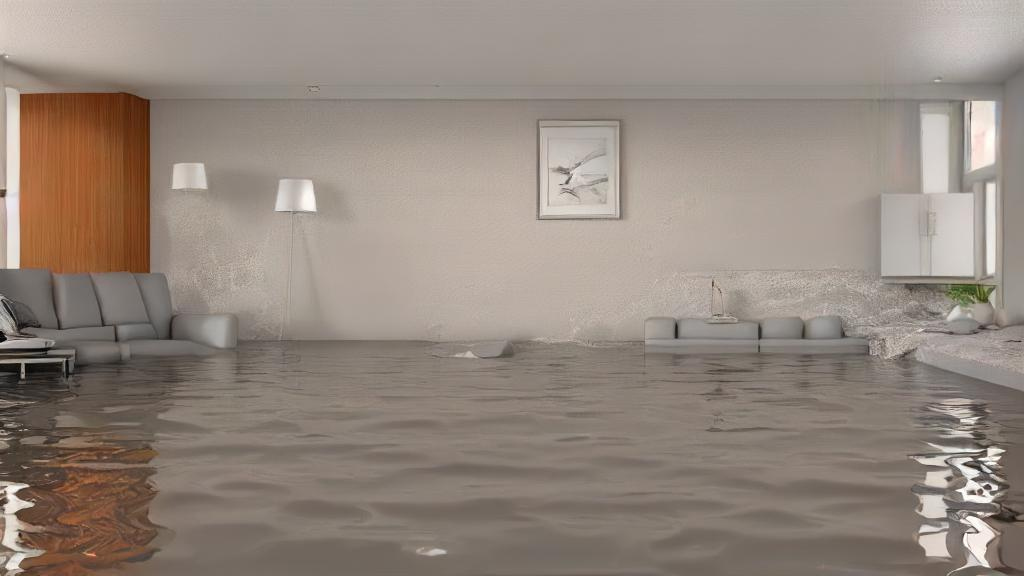
Water damage can wreak havoc on your home, especially when it affects your ceiling. Not only can it cause structural damage, but it can also lead to health issues due to mold growth. If you notice any signs of water damage in your ceiling, it’s crucial to take immediate action. This guide will walk you through the essential steps to repair drywall ceiling water damage effectively.
Inspecting the Source of the Water Leak
The first step in water damage restoration for your ceiling is to identify the source of the leak. This is crucial because any repairs made without addressing the underlying issue will only be temporary. Here are some common signs that indicate a water leak:
- Stains: Rust-colored or dark yellow stains on the ceiling.
- Peeling: Paint or drywall that is peeling away.
- Cracks: Hairline cracks or a pattern of cracks in the ceiling.
- Mold Growth: Especially in corners or edges.
- Musty Smell: A persistent damp or musty odor.
- Sagging: Sections of the ceiling that appear to be sagging or bowed.
Common Sources of Ceiling Leaks
- Leaking Roof: Often due to broken shingles, cracked flashing, or improperly sealed roof valleys.
- Dripping or Leaking Pipes: Plumbing issues can also cause significant water damage.
- Clogged Gutters and Downspouts: These can lead to water overflowing and seeping into the ceiling.
- Home Condensation: This might be caused by faulty ventilation or insulation.
Also Read: Water Damage Restoration Denver: Protecting Your Home from Disaster
Drying Out Damaged Areas
Before you begin repairing the water-damaged ceiling, it’s essential to ensure the affected areas are completely dry. Use a drop cloth or tarp to protect the floor from dust and debris. If there are bulging areas in the ceiling, puncture them carefully to release trapped water, and use a bucket to collect the water.
Removing Water-Damaged Drywall
Once the area is dry, the next step is to remove the damaged drywall. Here’s how to do it safely:
- Wear Protective Gear: Safety goggles and a face mask are essential.
- Remove Damaged Drywall: Use a hammer or wrecking bar to carefully remove the damaged sections. If the drywall only has water stains without structural damage, you can salvage it by cutting out the affected areas.
- Cutting the Drywall: Use a keyhole saw to cut the damaged section into a square or rectangular shape, which will make it easier to patch later.

Repairing the Drywall Ceiling
Preparing the Area
After removing the damaged drywall, smooth out any ridges and bumps with sandpaper. Fill any small holes with a joint compound, let it dry, and then smooth it down again.
Patching the Hole
- Measure and Cut: Measure the size of the hole and cut a new piece of drywall that is 2 inches wider and longer than the hole.
- Install the Patch: Fit the new drywall piece into the hole and secure it. If the drywall is heavy, you may need assistance to keep it steady.
- Finishing Touches: Apply a joint compound around the edges of the patch, let it dry, and then sand it down to a smooth finish. Repeat this process until the patch blends seamlessly with the surrounding ceiling.
Priming and Painting
With the repairs complete, the final step in water damage restoration for your ceiling is priming and painting. This will not only improve the appearance of your ceiling but also provide a protective barrier against future damage.
- Ventilation: Ensure the area is well-ventilated by opening windows.
- Priming: Apply a coat of primer to the entire ceiling, not just the repaired area, to ensure an even finish. Allow the primer to dry completely.
- Painting: Once the primer is dry, apply paint to the ceiling. You may need to apply multiple coats for an even and polished look. Let each coat dry before applying the next.
Professional Help
While it’s possible to handle minor water damage restoration on your ceiling yourself, severe cases or large areas of damage should be handled by professionals. Companies like SERVPRO offer comprehensive water damage restoration services, ensuring your home is returned to its pre-damage condition.
SERVPRO’s Water Damage Restoration Process
- Emergency Contact: A specialist will ask questions to determine the appropriate response.
- Inspection and Assessment: Technicians assess the damage and plan the restoration.
- Water Removal: Using extraction units and pumps.
- Damaged Material Removal: Non-restorable items are removed quickly to speed up drying.
- Cleaning and Sanitizing: Floors, furniture, and belongings are cleaned with specialized equipment.
- Drying: Industry-leading drying equipment extracts hidden water.
- Monitoring: Technicians routinely visit to assess drying progress.
- Repairs and Construction: Final evaluations and recommendations are made.
Also Read: Water Damage Restoration Cost: Understanding the Financial Impact of Water Damage
Conclusion
Water damage restoration for ceilings is a meticulous process that requires careful inspection, thorough drying, and precise repair techniques. Whether you choose to do it yourself or hire professionals like SERVPRO, understanding the steps involved can help you tackle the problem effectively and prevent further damage. Remember, addressing water damage promptly is crucial to maintaining the structural integrity of your home and ensuring a healthy living environment.


